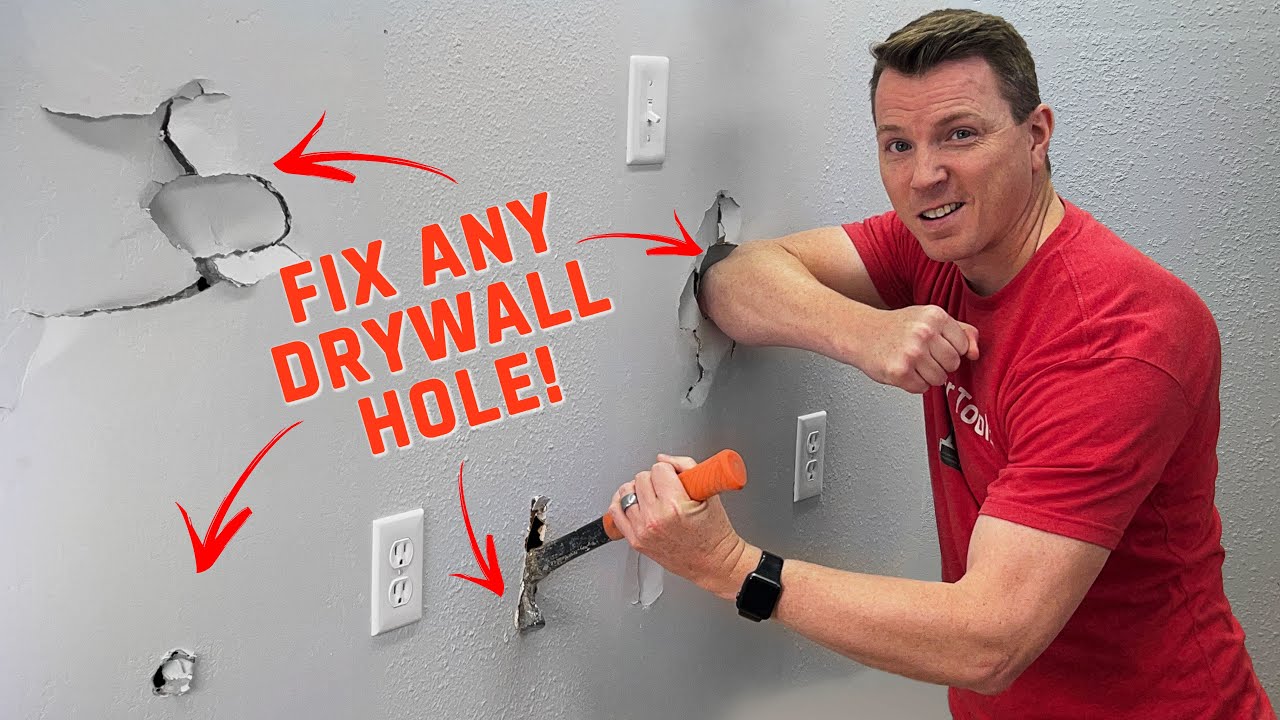
How to Effectively Patch a Large Hole in Drywall
Patching a large hole in drywall is a common home maintenance task that can easily be accomplished with the right techniques and tools. Whether you’re dealing with damage from an accident or a previous renovation project, tackling this repair can vastly improve your interior aesthetics. In this guide, we will explore various **drywall patching techniques**, the essential **drywall repair tools** you need, and best practices for achieving a smooth finish on your drywall walls.
Understanding the Drywall Repair Process
The first step in **repairing drywall damage** is to assess the hole. For **large hole repair**, determining the extent of the damage is crucial. Usually, this involves removing any loose or damaged drywall around the hole’s edge. Using a **utility knife**, carefully cut away any loose material, then clean up any debris to prepare the surface for patching. This is an important part of ensuring **clean edges** that will enable a seamless patching process.
Materials Needed for Effective Patch Drywall Hole
Before diving into the actual patching process, gather your **drywall repair tools**. These typically include a **drywall saw** for cutting the patch, **drywall mesh tape** to reinforce the repair, a **joint compound** for filling, and a **sander** for smoothing. It’s also helpful to have **spackle application** tools ready, along with **masking tape** to protect the surrounding area. Having all these tools on hand streamlines the **drywall repair process** and can help you achieve a professional finish.
Preparing the Surface for Patching
Proper ***surface preparation*** is essential for any successful drywall repair. Begin by marking the area around the hole to create a clean rectangle or square. Remove any loose drywall, ensuring you cut at least an inch past the damaged area to support the new patch. Following this, place scrap drywall behind the hole if it’s too large to simply patch with a piece. This **patch reinforcement** helps to solidify your repair job. It creates stability during the filling and finishing stages to ensure lasting success.
Practicing Drywall Patching Techniques
When it comes to **filling large holes**, employing **drywall finishing techniques** is key. For most jobs, you’ll use either a **patching compound** or a more specialized compound, especially for larger repairs. Apply the compound in thin layers with a putty knife or drywall knife, feathering the edges as you go. This will reduce the visibility of the repair once painted. Overfilling is common; let it dry completely and don’t hesitate to sand down for a **smooth finish** before starting the next layer.
Applying Primer and Paint to Your Drywall Repair
Once your patch is fully dried and sanded, it’s time for the finishing touches. Applying a quality **primer for drywall** is critical—it will help the paint adhere properly, ensuring your repair blend seamlessly with the surrounding wall. Allow the primer to dry based on manufacturer instructions, and then proceed with your chosen paint color. Consider matching the existing decoration if you aim to maintain continuity in your wall design.
Choosing the Right Paint Colors and Techniques
When it comes to **painting drywall**, selecting the right paint can make all the difference in achieving a perfect finish after your **large patch installation**. Opt for a high-quality latex paint that offers coverage and adhesion. You may choose to use a sponge **texture matching** technique if your walls have a specific finish. Additionally, painting in a light direction will enhance the wall aesthetics effortlessly while providing a protector layer over the patch, enhancing its durability.
Final Touches for Wall Completion
After your paint has dried, consider finishing off with some extra **final touches**. This may include adding any necessary decor elements back to the wall or touching up any scratches or nicks that might have occurred during the repair process. Afterwards, performing a quick assessment of your completed work with a keen eye can help ensure that **wall stability** is intact and that the repair serves both a functional and aesthetic purpose.
Common Mistakes to Avoid When Repairing Drywall
As with any DIY task, avoiding common mistakes can save you time and resources. A typical error involves failing to prepare the surface thoroughly, as this can lead to peeling and uneven patches. Ensure that the **drywall surface repair** is completely flat and free of imperfections. Another pitfall to sidestep is applying too much compound at once. This can lead to a long drying time and excessive sanding later on. Instead, opt for multiple thin layers during your application. This will not only minimize effort but produce a smoother finish.
Understanding Drywall Composition
Understanding **drywall composition** can also aid in your repair efforts. Drywall primarily consists of gypsum sandwiched between two sheets of heavy paper. Knowing this will guide how to cut and apply patches. Additionally, different **drywall types** like moisture-resistant drywall or fire-rated drywall may be necessary depending on the specific location of the damaged area, such as bathrooms or utility rooms.
Utilizing Advanced Repair Materials
In certain scenarios, utilizing advanced materials for **drywall repair** can yield better long-term results. For instance, opting for **moisture barriers** or water-resistant sheets can aid in preventing future damage in vulnerable areas. Using upgraded **drywall finishing** compounds that incorporate polymers flexibly may help improve adhesion and durability over time, contributing to the longevity of your repairs.
Key Takeaways
- Assess the damage and prepare the surface thoroughly before starting any repairs.
- Utilize proper drywall repair tools to ensure a smooth and structured approach.
- Implement excellent drywall finishing techniques for a seamless look that matches existing surfaces.
- Choose quality primer and paint for effective blending and durability.
- Avoid common repair mistakes by layering materials thinly and thoroughly inspecting your work for flaws.
FAQ
1. What is the best way to ensure a smooth finish after patching drywall?
Achieving a **smooth finish** after patching drywall involves careful sanding of the compound once it dries. Use a fine-grit sandpaper to avoid damaging the surrounding surface, and feather the edges to blend with the existing wall. Applying a layer of primer is also essential before painting to ensure that the color is uniform.
2. How do I choose the right drywall repair materials?
When selecting **drywall patching supplies**, consider factors like the size of the hole and the environment where the drywall is located. For larger repairs, you might want sturdy materials like mesh tape and joint compound for reinforcement. For smaller damages, patch kits that include all necessary materials might be more efficient.
3. Can I paint over patched drywall immediately?
No, it’s important to allow the joint compound and primer to dry completely before applying paint to patched drywall. Typically, you should wait 24 hours after the joint compound has dried before applying primer, and then another period after priming for drying before painting.
4. What are common drywall maintenance strategies?
Regular maintenance for your drywall includes checking for signs of moisture, cracks, or holes, and addressing them promptly. Keeping on top of these minor repairs can help maintain the **integrity of your walls** and prevent larger issues from developing.
5. How can I ensure that my patch stays hidden after repair?
To make the drywall patch less noticeable, use a **texture spray** if your walls are not flat. Match the wall finish and ensure you apply a layer of paint that blends with the area. Sand the edges before texturing to ensure a more flawless transition.
6. What should I avoid when patching large holes?
Avoid overloading the area with heavy patches—thin layers and multiple applications are better. Also, ensure that you don’t skip the step of properly preparing your holes by measuring correctly, as an improperly sized patch can make repairs more difficult.
7. Is it necessary to use a professional for drywall repair?
While many homeowners can successfully complete drywall repairs themselves with some tools and knowledge, complex repairs or large damage areas may benefit from a **professional repair technique** depending on the severity. Always assess your comfort level and skills before proceeding.
By effectively tackling **patch drywall holes**, you’ll maintain the beauty and integrity of your interior spaces well into 2025 and beyond.