Ultimate Guide on How to Properly Truss a Chicken for Perfect Roasting in 2025
Roasting a chicken is an art that many cooks aspire to master. One of the key techniques in achieving a beautiful and evenly cooked roast is the proper trussing of the bird. Trussing not only helps secure the chicken’s shape but also promotes even heat distribution, resulting in a flavorful and juicy dish. In this comprehensive guide, we’ll explore how to truss a chicken effectively, discussing various techniques, tools, and tips that will enhance your culinary experience. Whether you’re a beginner or looking to refine your skills, understanding the importance of trussing chicken will elevate your cooking capabilities and impress your dinner guests.
Before diving into the detailed methods, let’s overview the benefits of trussing. Not only does it create a pleasing presentation, but it also ensures that the chicken cooks uniformly—preventing over-done wings or undercooked centers. Additionally, we’ll discuss the essential tools you’ll need and touch on some common mistakes to avoid. By the end of this article, you will have a solid grasp of the art of trussing chicken and the confidence to apply these techniques in your kitchen.
Essential Techniques for Trussing Chicken
Building on the significance of trussing, let’s explore the various techniques you can employ to secure your chicken for roasting. Each method has its advantages depending on your cooking style and presentation preference.
Step-by-Step Guide to Trussing a Chicken
Trussing a chicken involves several simple steps that will ensure your bird is properly secured. Here’s an easy guide:
- Begin by placing the chicken breast-side up on a clean, flat surface.
- Using kitchen twine, cut a length of about three feet.
- Loop the twine around the legs, crossing them at the ankles. Tie them securely together with a knot.
- Next, bring the ends of the twine up towards the wings, securing the wings against the body of the chicken. This helps maintain the bird’s shape while cooking.
- Finally, make a knot at the top, adjusting the tightness to shape the chicken as desired.
Remember to check that the trussing is tight but not so tight that the chicken is constrained; air should still circulate for even cooking.
Common Mistakes When Trussing Chicken
Even experienced cooks can slip up when trussing chicken. Here are some common pitfalls to avoid:
- Using the wrong twine: Always opt for kitchen twine or butcher’s twine as these are designed for cooking. Avoid using synthetic twine that may melt or leach chemicals.
- Over-tightening: If the twine is too tight, it can hinder cooking. Ensure some space is allowed for heat circulation.
- Forgetting to tuck the wings: If the wings aren’t secured, they can burn during roasting.
Importance of Trussing Chicken for Even Cooking
Trussing offers numerous benefits, including maintaining an attractive shape and ensuring more even cooking. When the wings and legs are secured, they don’t flop around, which could lead to uneven cooking temperatures. It also aids in heat retention, allowing the meat to cook more uniformly throughout.
Choosing the Right Twine for Trussing Chicken
With the technique clear, it’s crucial to focus on the tools and materials you’ll need. One of the most vital components is the twine.
Types of Twine Suitable for Trussing
Several twine options are ideal for trussing chicken. Here’s a brief overview:
- Kitchen Twine: 100% cotton twine is the best option, providing safety and functionality.
- Butcher’s Twine: Similar to kitchen twine, it’s thicker and extra strong, perfect for heavier cuts.
- Natural Twine: Always opt for food-grade twine, as synthetic types might not be safe for food cooking.
How to Cut and Prepare Twine
When preparing to truss, ensure you have ample length of twine. A good rule of thumb is to cut three feet for a whole chicken. Having more twine than necessary allows you to easily make knots without worrying about running out.
Expert Recommendations for Success
For a successful trussing experience, here are some tips from culinary experts:
- Practice makes perfect. Try trussing with a few different objects to understand the technique better.
- Keep your kitchen clean and organized to streamline the process, ensuring you have all tools handy.
- Watch tutorials online for visual aids and practice in advance of any important dinner parties.
Cooking Techniques for Trussed Chicken
Understanding how to cook a trussed chicken is just as vital as the trussing technique itself. Let’s delve into effective cooking methods that work beautifully for trussed birds.
Ideal Cooking Methods for Roasting Chicken
When it comes to roasting, there are several techniques to consider, but here are two of the most popular:
- Traditional Oven Roasting: This classic method provides consistent results, locking in moisture and flavor.
- Grilling: A popular choice for summer meals, ensure your grill setup allows for indirect heat to prevent burning.
Temperature Control Tips
To produce juicy and tender meat, maintaining the correct temperature during cooking is essential. For whole chickens, an internal temperature of 165°F is optimal. Use a meat thermometer inserted into the thickest part of the breast for accuracy.
Enhancing Flavor in Trussed Chicken
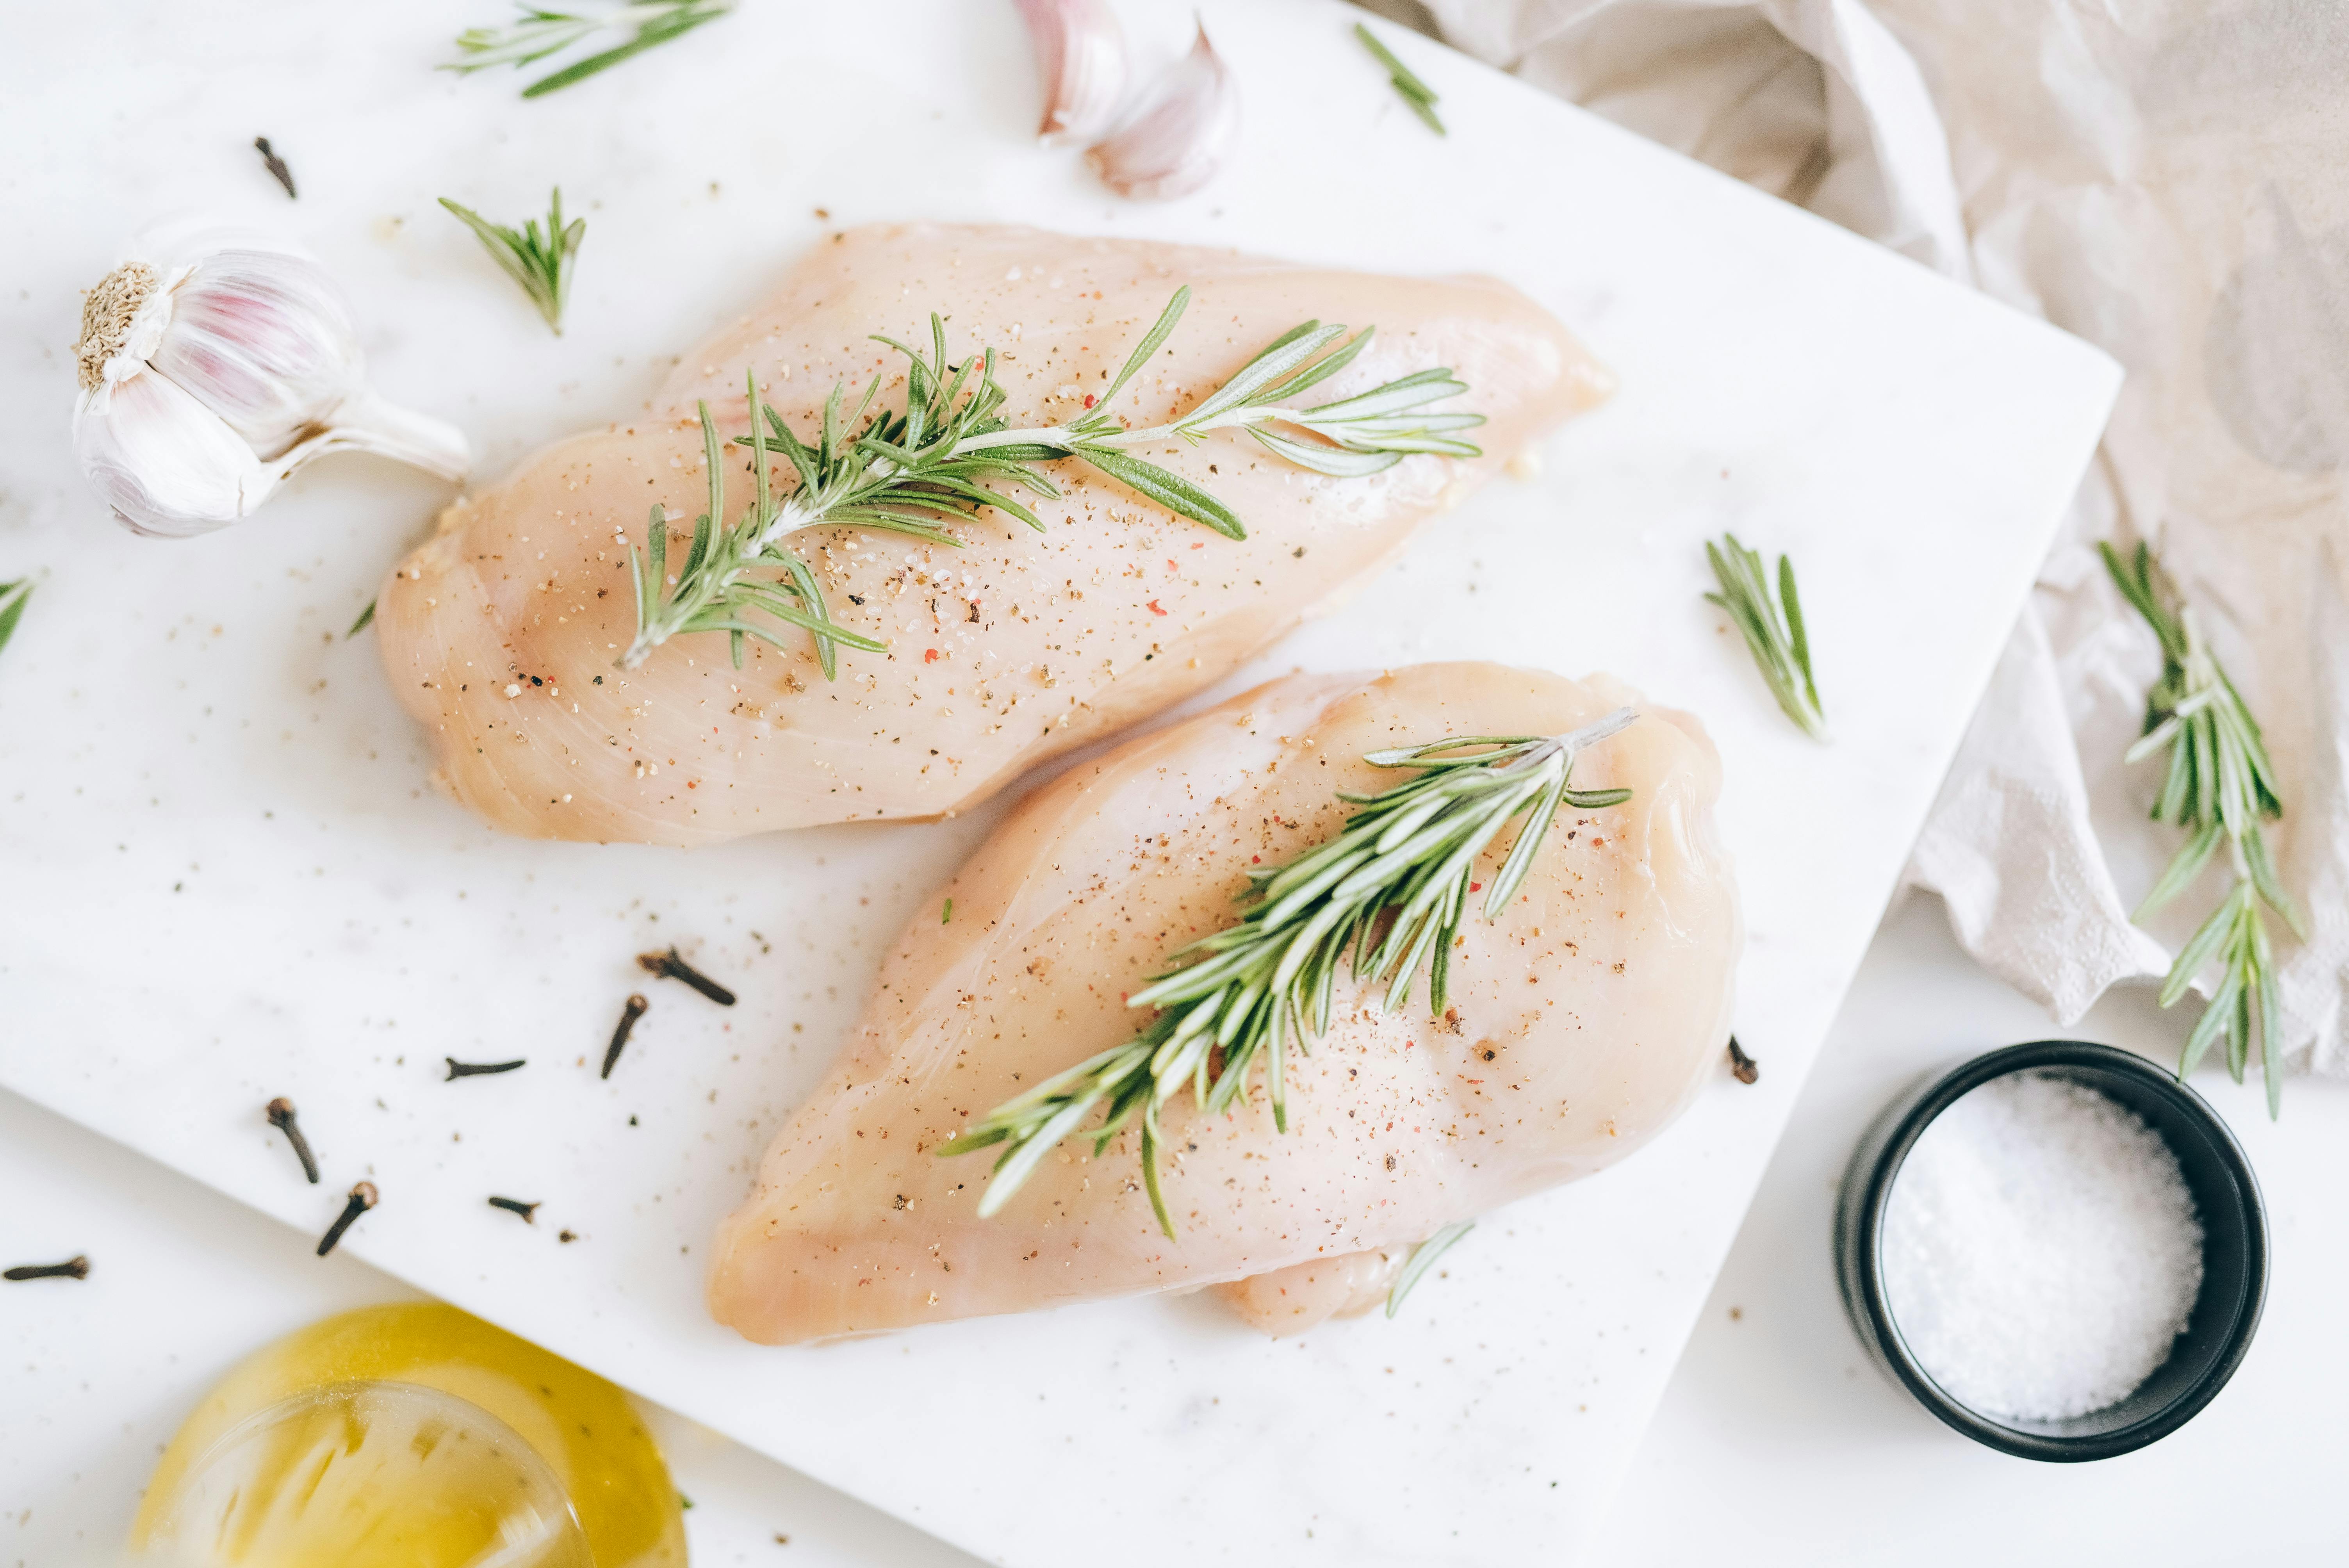
Don’t forget about seasoning! Prior to trussing, rub your chicken with your favorite herbs, spices, and a good amount of salt. This allows the flavors to penetrate while it cooks. Additionally, consider stuffing aromatic ingredients into the cavity, such as garlic, lemon, or herbs, for enhanced flavor.
Presenting Trussed Chicken: Serving Tips
A beautifully trussed chicken not only looks appealing but also allows for easy serving. Here’s how to present it effectively.
Best Practices for Serving Trussed Chicken
When your trussed chicken is finished roasting, let it rest for at least 15 minutes before carving. Resting allows the juices to redistribute, leading to a more succulent meal.
Plating Recommendations
Once rested, carefully remove the twine and carve the chicken. Present the sliced meat attractively on a platter, perhaps garnished with fresh herbs or a seasonal salad to elevate the aesthetic appeal.
Trussed Chicken Serving Ideas
For a complete meal, serve your chicken alongside classic sides such as roasted vegetables, herb potatoes, or a fresh garden salad. Don’t forget to include a flavorful sauce or gravy to enhance the overall dining experience.
Q&A Section: Common Questions on Trussing Chicken
1. Why is trussing important for roasting chicken?
Trussing is crucial for ensuring an even cook throughout the chicken, which enhances texture and taste while ensuring an appealing presentation.
2. What type of twine should I use for trussing?
Always use 100% cotton kitchen twine or butcher’s twine for safety in cooking and to avoid potential contaminants from synthetic materials.
3. Can I truss a chicken the day before cooking?
Yes, trussing the chicken a day early can save time. Just make sure to cover it properly to keep it fresh and refrigerate until ready to roast.
4. How tight should the twine be when trussing?
The twine should be snug enough to secure the limbs but not overly tight to restrict cooking or airflow.
5. Are there alternatives to trussing?
While trussing offers significant benefits, alternative methods like securing with skewers or cooking without any binding can also be effective. However, results may vary.
By mastering the art of trussing, you will undoubtedly take your chicken roasting game to the next level. Follow these tried-and-true methods, and enjoy the delightful rewards of a perfectly roasted trussed chicken!