Essential Guide to How to Drywall: Modern Techniques for Better Results in 2025
Understanding Drywall Installation Techniques
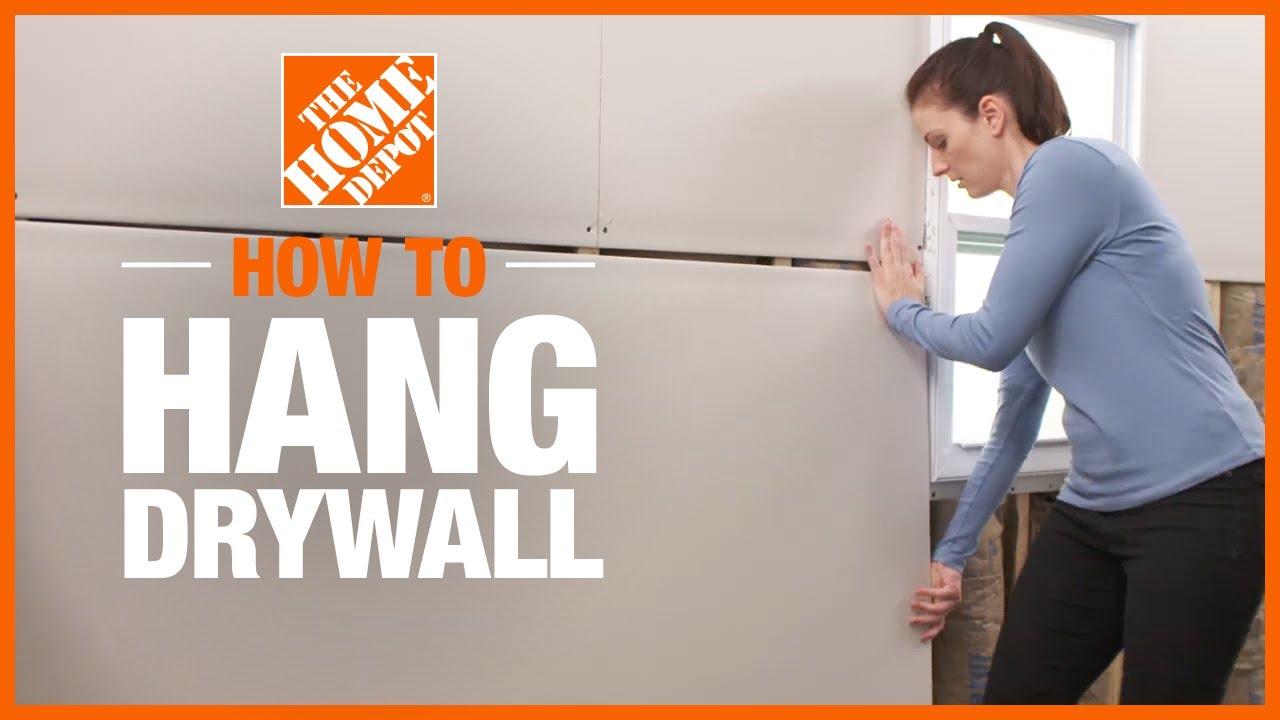
Installing drywall can seem daunting, but with the right **drywall techniques**, anyone can achieve great results. The process begins with choosing the right materials, including **drywall sheets** specific to each area of the home, like moisture-resistant drywall for bathrooms or fire-rated drywall for safety. Familiarizing oneself with common **drywall installation mistakes** can also save time and resources. This guide will detail insights into **drywall measurement**, layout planning, and other essential aspects that lay the foundation for a successful project.
Steps to Effective Drywall Installation
The foundation of **drywall installation** relies on a well-thought-out plan and effective execution. Start by measuring the area where the drywall will be applied. Use reliable **drywall measuring tools** to ensure that you have accurate dimensions. After securing the necessary materials, the next step is to cut the drywall sheets according to your measurements. Utilize specialized **drywall cutting tools** for precise cuts. Once the sheets are ready, fasten them to the framing using **drywall screws**, spacing them correctly to avoid sagging or gaps. Following are some effective **drywall application methods** for smooth results.
Common Drywall Installation Tools
Having the right **drywall tools** greatly influences the success of a project. Key tools include a level for ensuring that the drywall hangs straight, a T-square for accurate cutting, and a drywall lift for bigger panels or ceilings. Additionally, proper **drywall handling** techniques will help reduce damage during transport and installation. Ensure to have a utility knife and a drywall saw on hand for unforeseen adjustments. Understanding how to sheath the drywall correctly during this process helps prevent excess dust—a common issue during drywall projects.
Drywall Installation Safety Practices
Safety should always be a top priority when working with drywall. Make sure to wear protective gear such as dust masks and goggles. It is essential to follow proper **drywall safety** practices when handling heavy sheets and working with tools. Adequate ventilation in your workspace is vital during cutting and sanding operations, as this minimizes exposure to drywall dust, which can cause adverse health effects. All workers should be aware of **drywall longevity practices** to enhance the durability of both the installation and their working environment.
Drywall Finishing: Creating a Polished Look
The finishing stage is arguably the most crucial part of any drywall project. It involves processes like applying **drywall mud** and tape to joints and seams, which helps in creating a smooth, seamless appearance. Techniques used at this stage often determine the final aesthetic of your walls or ceilings. Employing the correct **drywall finishing compounds** and tools can make a significantly impactful difference in the outcome. This section will dive into the essentials of drywall finishing and some innovative approaches to get the best results possible.
Applying Drywall Mud and Tape
Applying **drywall mud** correctly is fundamental for a stellar finish. Start by applying a layer of joint compound over the seams where the drywall sheets meet. Use a knife to create a smooth surface, followed by the placement of **drywall tape** to stabilize and hide the seam. When choosing **drywall tape**, one can opt for paper or fiberglass mesh; both serve the following purpose effectively. After placing the tape, apply another layer of **drywall mud** over it, feathering the edges to ensure a seamless transition and to prevent any visible ridges or bumps. Lastly, be prepared for multiple coats depending on the thickness and desired finish.
Drywall Sanding Techniques
Once the mud dries, sanding becomes necessary for achieving perfection. Utilize **drywall sanding** tools, like a pole sander or sanding sponge, to smooth out any imperfections. Follow the proper techniques by starting with coarse-grit sandpaper and gradually moving to finer grits. It’s crucial to not oversand, as this will wear away joint material. Keep the workspace clean during this process, utilizing a vacuum or dust collection system to manage dust and contaminants. This ensures safer breathing conditions and a tidier project completion.
Innovative Drywall Finishing Styles
This is also where creativity shines. Explore various **drywall finishing styles** such as knockdown texture, orange peel, or smooth finishes. Each has its unique benefits and can enhance the aesthetics of a space. Utilizing techniques that suit the room’s purpose can foster both appeal and function. For instance, where soundproofing is desired, certain textures help displace sound waves. By understanding architectural requirements, homeowners can make informed choices that add substantial value to their spaces.
Dealing with Drywall Repairs and Maintenance
Over time, drywall may succumb to wear and tear, resulting in issues requiring repair solutions. Addressing these concerns promptly is crucial for maintaining both the integrity and aesthetics of your walls. From **drywall water damage** to small holes or cracks, an understanding of effective **drywall repair techniques** is essential. It saves not just time but also money in prospective renovations or replacements. This segment will detail how to carry out efficient repairs and maintenance strategies.
Identifying Common Drywall Damage
Common issues like **drywall water damage** may present signs in the form of discoloration or bubbles. Such damage necessitates identifying the source of moisture to prevent future occurrences. Repairing these spots often involves cutting away affected sections, ensuring proper **drywall adhesion**, and replacing them with new material. Minor cracks can often be patched with a suitable compound and sanded for a smooth finish. By staying attentive to any shifts or changes in your walls, homeowners can catch issues early and address them satisfactorily.
Implementing Effective Repair Techniques
For larger holes, a more robust approach is required. Adopt a patching method involving the attachment of **drywall corners** and applying joint compound over the patch. Once dried, follow the same sanding and finishing techniques as outlined before. Utilize high-quality **drywall repair essentials** to ensure longevity. If the home experiences heavy moisture or humidity levels, regular inspections and localized patchwork may bring sustained integrity against damage long-term.
Routine Drywall Maintenance Tips
Post-installation care is paramount. Adhere to a **drywall maintenance checklist** that prompts inspections for cracks and fractures regularly. It’s also important to clean surface dust and grime that accumulate over time. A thorough wiping or vacuuming can help maintain a neat visual aesthetic. Additionally, addressing small repairs promptly as they arise ensures minor issues do not escalate into substantial problems. Keeping your walls looking pristine can contribute positively to property value and enhance your living environment.
Key Takeaways
- Proper planning and understanding of drywall installation techniques is key for successful results.
- Mastering drywall finishing techniques ensures a professional, polished look for any project.
- Regular maintenance and prompt repairs can significantly extend the lifespan of drywall features in your home.
- Innovative designs and finishing styles can enhance both beauty and functionality in residential spaces.
- Utilizing the right tools and safety practices reduces risk during drywall installation and upkeep.
FAQ
1. What materials are essential for successful drywall installation?
Essential materials include **drywall sheets**, **drywall screws**, **drywall tape**, and **drywall mud**. It’s also vital to have the proper **drywall tools** at hand such as levels, saws, and sanding equipment. Always consider variety in your material choices to match specific project needs, like moisture-resistant options for bathrooms.
2. How do I fix small holes in drywall?
To repair small holes, simply clean the area, apply a patch with **drywall joint compound**, and smooth it out with a putty knife. Allow it to dry, then sand it flush with the surrounding wall. For future prevention, adhere to best **drywall maintenance practices** to ensure minor issues are addressed promptly before they escalate.
3. What are the different types of drywall available?
Drywall comes in several types tailored for various applications, including standard, moisture-resistant, fire-rated, and soundproof drywall. Understanding the specific properties and functionalities of each can guide proper usage, ensuring the best fit for your project needs.
4. How do I ensure effective drywall finishing?
Achieving effective drywall finishing requires multiple layers of **drywall mud** and careful sanding. Applying drywall tape correctly and feathering the mud’s edges helps create a seamless finish. Employ good techniques during each phase to yield the best end results, focusing on flat surfaces for aesthetic appeal.
5. What are the common drywall installation mistakes to avoid?
Common mistakes include improper measuring, neglecting safety gear, and skipping joint treatment. Ensure all seams are securely taped, and try to avoid rushing through joint compound applications to prevent visible ridges. Awareness of these pitfalls is critical for achieving optimal results.